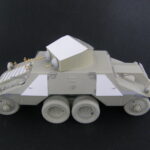
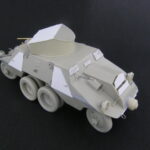
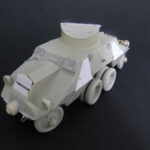
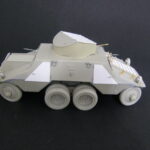
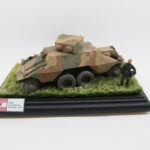
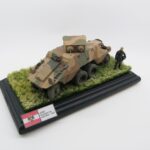
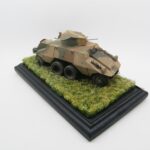
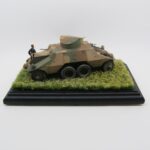
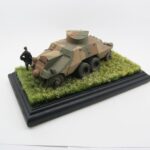
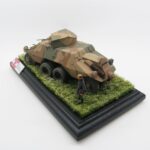
ADGZ History is here
This article was first published on April 22, 2012
The Model:
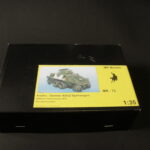
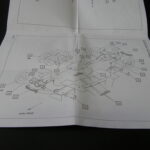
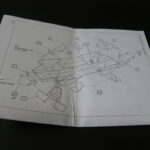
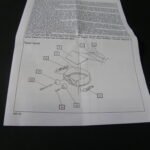
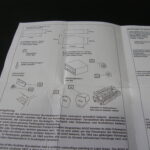
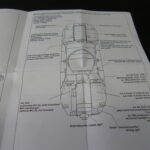
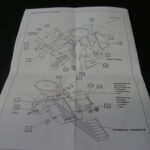
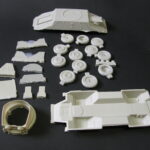
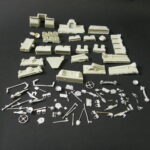
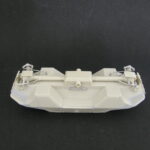
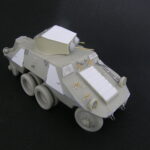
Here’s my new project, the MR models ADGZ. when opening the box, one is faced with a significant number of pieces for a resin model with some parts in white metal, the quality is correct with occasional large carrots molding sprues so « provide with caution »
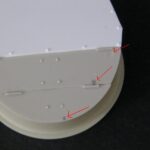
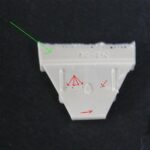
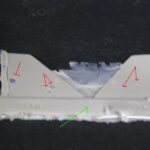
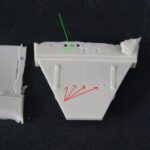
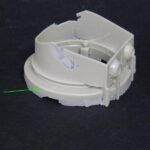
Good evening everyone, after a closer examination of the parts, it appears that the injection sprues are quite large and therefore a long preparation is expected. In addition, many bubbles can be seen here and there especially on the the flat parts (doors, etc …) then again work ahead.
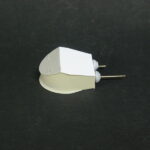
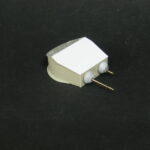
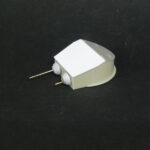
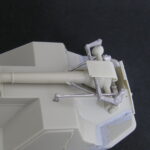
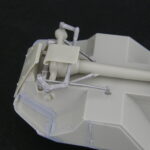
The turret is mounted, however, I replaced the top which had so many bubbles that it was faster to remake it with plastic card.
I took some photos to show an example of the bubbles that can be found on the model (red arrows) and the large sprue (green arrow).
The first turret that was in the box was so bad that I asked her replacement (which was done without problem, thanks to MR Models). All this does not really matter it just adds work that could be avoided but this is quite recurrent with artisan’s models.
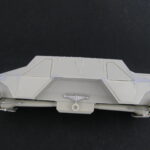
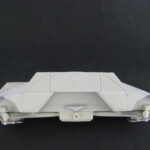
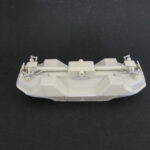
Good evening everyone, I could work a little on the Adgz this afternoon, after assembling the two parts of the body (top and bottom), it required a little putty to properly join the two ends but overall it went well. I then worked on the undercarriage parts, most fine pieces are in white metal and larger in resin. Finally, a few bubbles here and there but nothing serious. It still lacks some putty to fill some gaps.
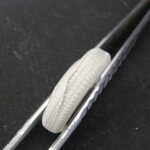
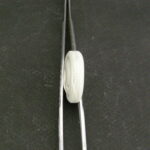
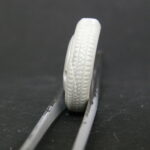
I then wanted to begin the wheels, I’ve had good and bad news. The good is that the sculpture is excellent, the bad surprise is that sometimes (three wheels) shifts resin which are still important, I will try to catch up or hide it all later.
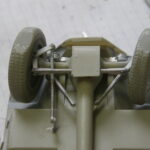
I went on with the assembly of the adgz with the undercarriage. As I wanted to represent the wheels turned, I had to rebuild the steering mechanism and redo some pieces in the front and rear because the front and rear wheels are mobile.
Then I moved to the top of the body with the tools, headlights and their protection (the fence just in front of the headlights will be added after painting), machine guns and fasteners for the two jacks come from Tamiya, the doors were scratched from plastic because it was faster than rework those of the box with all these bubbles, their characteristic is going down a little lower than the junction of the body.
Ultimately, this kit requires some experience in assembling resin with lot of work in correcting the connections between different parts and filling the many bubbles with mastic.
It’s now time for painting. I would like to depict a vehicle of the Austrian bundesheer before the Anschluss. Unsuccessful tests were conducted for the heer vehicles with a three-tone camouflage with straight edges . The colors remain to date quite obscure. After contact with Mr Illming (military history museum in Vienna), it would seem that colors are beige or sand, a khaki green pretty clear and reddish brown.
Regarding the colors, here is the email received from Mr Ilming Heeresgeschichtliches Museum (history of the Army) in Vienna:
« Dear Sir!
I received your request for information about the colour of the ADGZ in the Austrian pre-Anschluss army. I regret, but I have to tell you that it is not possible to give an exact description of their colour. We know, that the tanks of the Austrian army were painted in several different colours at this point of time, obviously NOT as a result of a certain system, but depending upon which company had delivered the various tanks, and also upon the fact that various tank divisions were trying out different variations of camouflage at this period. We know, that the “Kommando Schnelle Division” had started to paint their ADGZ from July 1937 on with a matt brown-green, which was defined to be similar to the colour of the last tranche of the CV-35. Please note: the definition was not, to be “exactly like”, it was “similar to”. So we have to accept, that there was obviously no standardized colour “matt brown-green” in the Austrian Army at this time, and therefore it is impossible to define it now exactly. About the rest of the ADGZ: I have not found evidence for their exact colour. It might be, that they had a – more or less – standardized colour, but it might also be, that they were, like those of the “Kommando Schnelle Division”, part of several programs running at this period for finding new colours for camouflage.
I hope that this response is nevertheless of some help for you. Please do not hesitate to contact me again, if you have any further questions. »
Mit freundlichen Grüßen
Ing. Mag. Thomas Ilming
Leiter Referat WaTe (Waffen und Technik)
Heeresgeschichtliches Museum
A-1030 Wien, Arsenal, Objekt 1
This only indicates that the three-tone camouflage existed. For the green, I think we need to use green–brown described by Mr Ilming it seems logical, so I used the Tamiya XF65 field gray with a drop of red brown Tamiya XF64. For the brown I used Tamiya XF64 with a drop of XF57 buff tamiya not to seem too dark. Finally, for the sand, it seems fairly clear from the pictures, so I used the buff with a drop of green already used. After a coat of primer, the colors were sprayed one after the other starting from the lightest to the darkest and using the dough masking silly putty. Then follow the conventional filters, juice, micropaint, and finally pigments fixed with C gasoline. There is no marking on Austrian vehicles at this period. officer is from the brach models range well known for its quality molding. armored crews wore italian uniforms at this period as shown on photos.

