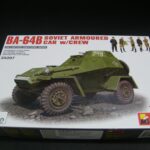
The BA-64 history is here
This article was first published on February 5, 2012
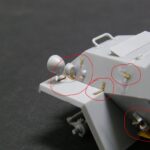
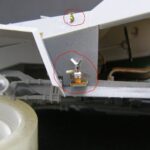
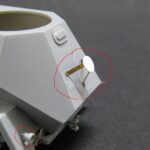
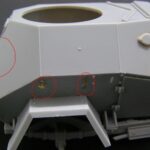
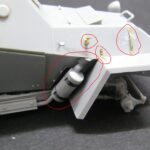
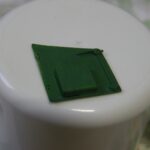
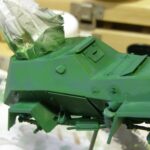
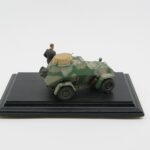
Hi all, here is the assembly of the 1/35 miniart BA-64B. This assembly was done without problems, I put the pictures to indicate small modifications on the model before painting. All changes are in red. fenders are refined.
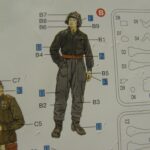
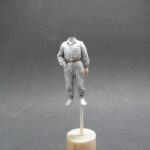
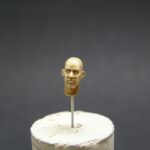
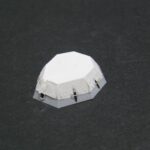
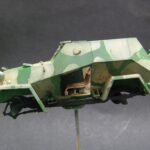
The painting of the interior before closing the two parts. the driver’s door will be open. The inside of the turret. The driver with a hornet head. the turret with its protection cloth (tissue paper coated with putty diluted with acetone).
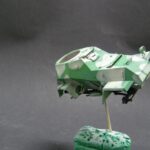
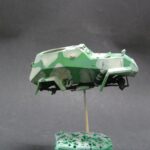
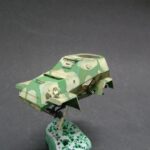
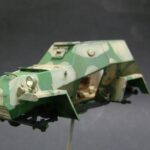
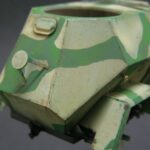
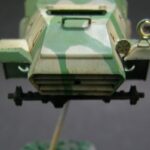
For the paint, just a first layer of light green (Tamiya green X5 + yellow XF3 + white XF2) and then a shot of hairspray and then darker green (Tamiya field grey XF65 + green X5 + white XF2), personally I think it is close to the famous and difficult to obtain Russian green. Then brush to let appear the light green. It will not remain much green as camouflage is primarily sand.
More with the sand color. First of all I used graphigum masking liquid which is the same as maskol but more liquid, next a layer of hairspray then a very light coat of sand (tamiya XF59 + XF2) and then a light brushing to bring back the green color, next I added the headlight and first washes
My big concern now is that by putting the wheels in place on the rims, I forced a little and split without realizing all the tires, shortly after they broke all , so …. I added the weathering on the BA, next the pigments and I have to find a solution for the broken tires.
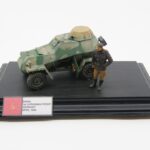
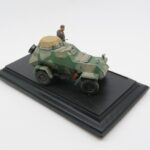
After having successfully recovered 4 of 5 tires, I have now finished this little BA, it just missed the pretty basic marking on the side of the body.

