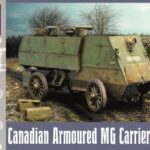
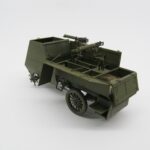
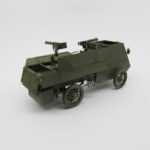
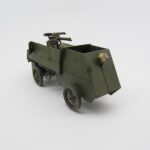
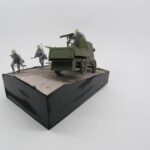
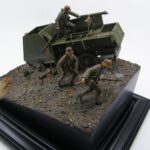
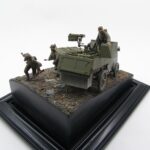
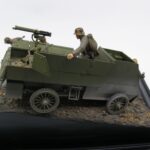
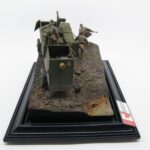
The Canadian armoured autocar history is here
The box is in the brand standard with the instructions which are always a real pleasure.
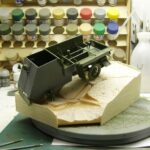
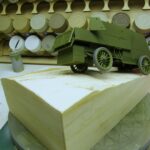
1 hour to assemble the chassis and the plate, everything fits together perfectly like Tamiya, nothing to complain about. New Vickers printed in 3D, even if those in the box are not bad. hooks for holding the side panels, machine gun mounts, cutting out the rear wall (for the rest of the assembly, you have to understand how it all works), new rear side hatch which will be presented open. The side panels with their support arms which will be modified later, there too, you have to understand how it works otherwise you can’t see how the panels folded down.
Then comes the problem of painting. In my opinion, it is better to paint as you go because once closed, access to the floor, especially on the driver’s side, becomes complicated if you want to scratch it, well that’s just my opinion, so I first painted then scratched the floor with the lacquer technique, painted the side panels and then assembled them little by little, especially since I will represent them half open.
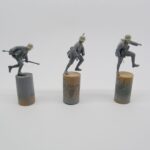
Start of work on the figurines I was quite doubtful about the injected figurines but these seem to be of good quality. The fairly soft plastic allows to re-engrave what is necessary like the calf strips at the level of the molding joint. I am not sure to keep the masks or replace the heads with hornets. The continuation with the soldiers that I started, verdict on this box, the poses are very nice, the plastic is quite soft, be careful to deburr the molding line especially on the calf guards otherwise it will be as obvious as the nose in the middle of the face. I re-hollowed the sleeves and the neck and accentuated the collars, tabs etc …
Testing the poses, the location will quickly be limited by the reduced space, the group leader is a little exposed in the coach but you have to look carefully from time to time.
The figurines with a little work anyway to redo the straps, a little putty and a few modifications, the leader’s backpack, the rifle in one hand instead of the two grenades for the one who runs, a few bags completed with putty. Overall, nice figurines to assemble but be careful to adapt the grenade bags, not easy; the heads are of course hornets.

